

I like my Swiffer jet mop pads a lot better than the plastic backed Velcro adhesive ones :-)


They slip onto the plastic mop head easily - and the drawstring keeps them in place until you remove the pad: disposable pads can bunch up and actually fall off the plastic head, despite the Velcro adhesive strips ... plus, the boxed disposable pads are expensive :-(
My designed cotton jet mop pad will last for years; and it can be tossed into the washer & dryer. I crocheted a newer mop pad yesterday to replace the first pad I ever made, because the stitches were too tight, and that made it a hassle to get on and off the mop head; but the other two pads slip right on and off with ease.

I first designed and used this Swiffer jet mop pad June 4th, 2019 ... but neglected to write the pattern down (widow brain fog); so, I had to figure it out, and revise it, the other day. To the best of my knowledge, the following pattern is correct.
Or at least, workable ;-)
You can make as many mop pads as you please: I have three, because I currently live in a 44 ft. 5th wheel - washable floor space is not massive, but I like to use a fresh mop pad for every section (upper bedroom/bathroom, livingroom/kitchen, back bunkroom/bathroom).
This pad can be worked using one color throughout - or by using two colors (I used two colors).
***************
MOD SWIFFER JET MOP PAD
Materials:
Cotton yarn - 1 skien MC; or 1 skien EA of MC & CC
#H size crochet hook
Scissors
Tapestry needle
Terms Used:
ch = chain
sc = single crochet
EA = each
ct = count
sl st = slip stitch
dec = decrease
tog = together
EO = end off
With two strands of yarn together, ch 31.

Rows 1 - 12: Sc across foundation chain - work 11 more rows sc; after row 12, drop the extra strand of yarn and continue work with a single strand.
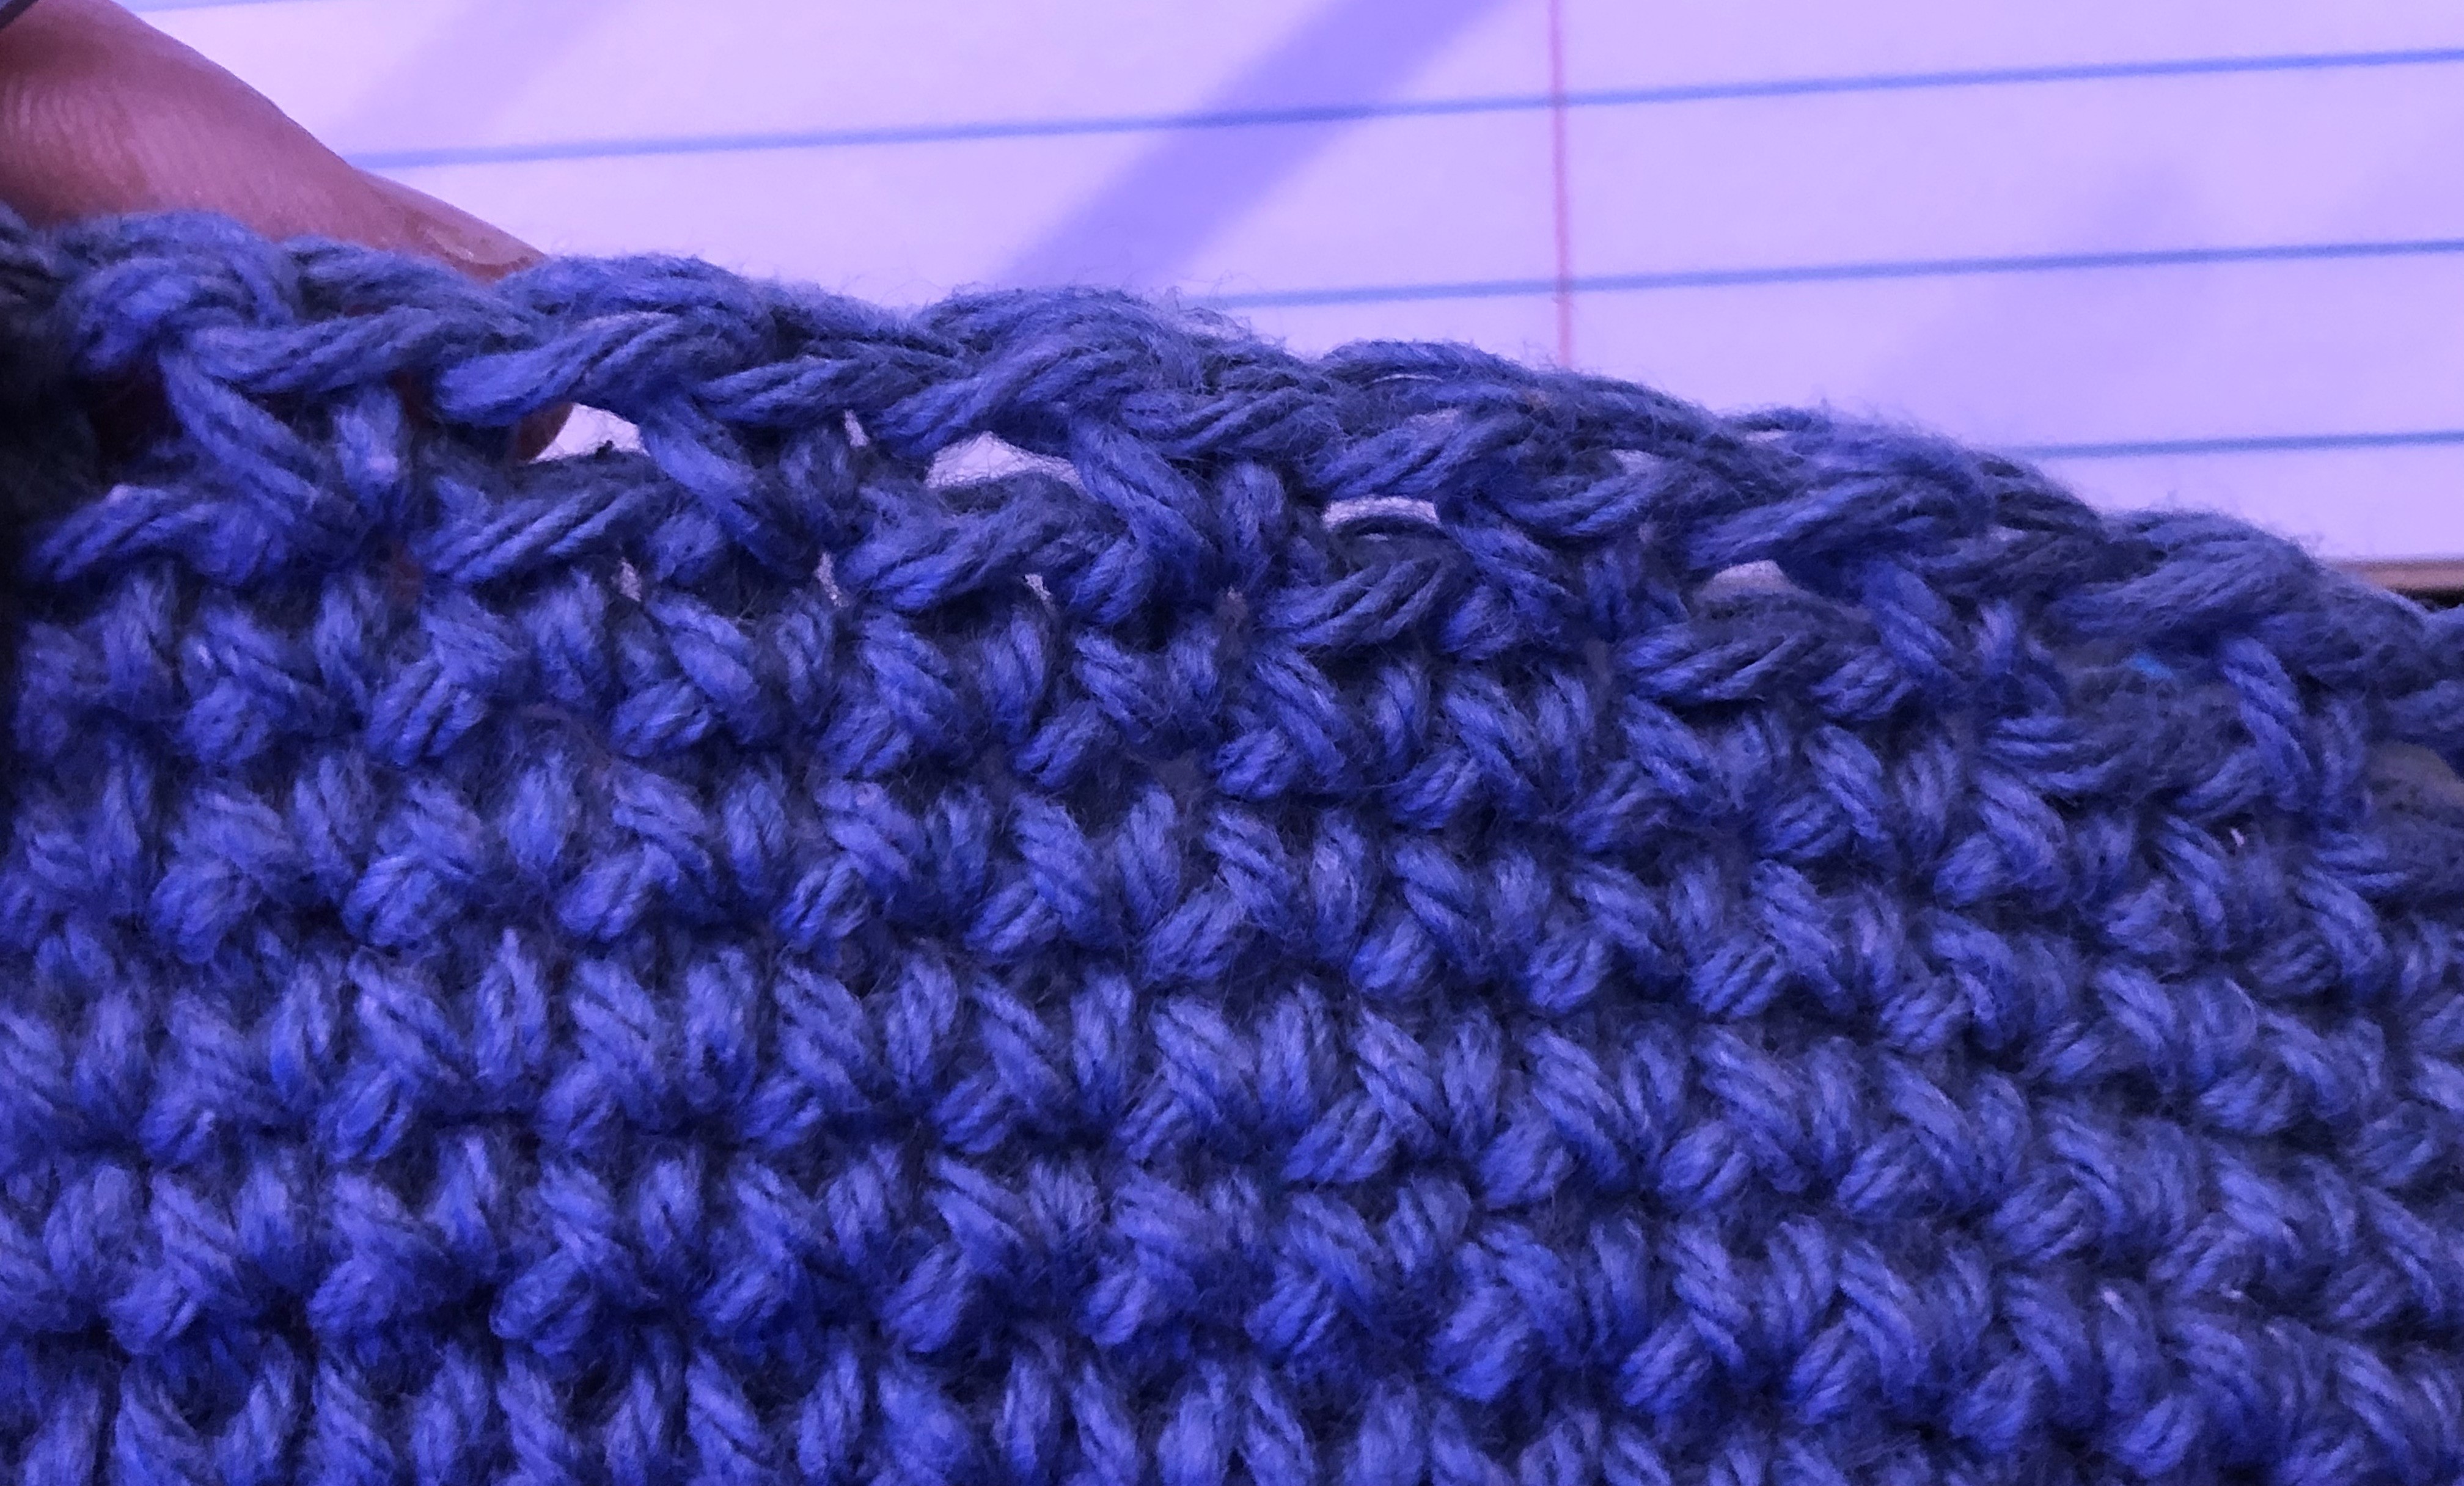
Row 13 - Working corners: Sc in each sc, making 3 sc in EA corner sc (*15 sc, 3 sc next sc, 33 sc, 3 sc next sc* around piece: 108 ct.)

Row 14: Sc in each sc, making 2 sc in EA corner sc (*15 sc, 2 sc in next 3 corner sc, 33 sc, 2 sc in next 3 corner sc around piece*: 120 ct.)

Row 15 - Decrease row: Sc in each sc, making dec in EA corner (*17 sc, dec 3 sc tog next sc, 37 sc, dec 3 sc tog next sc* around piece: 113 ct.)

Rows 16 & 17: sc in each sc.

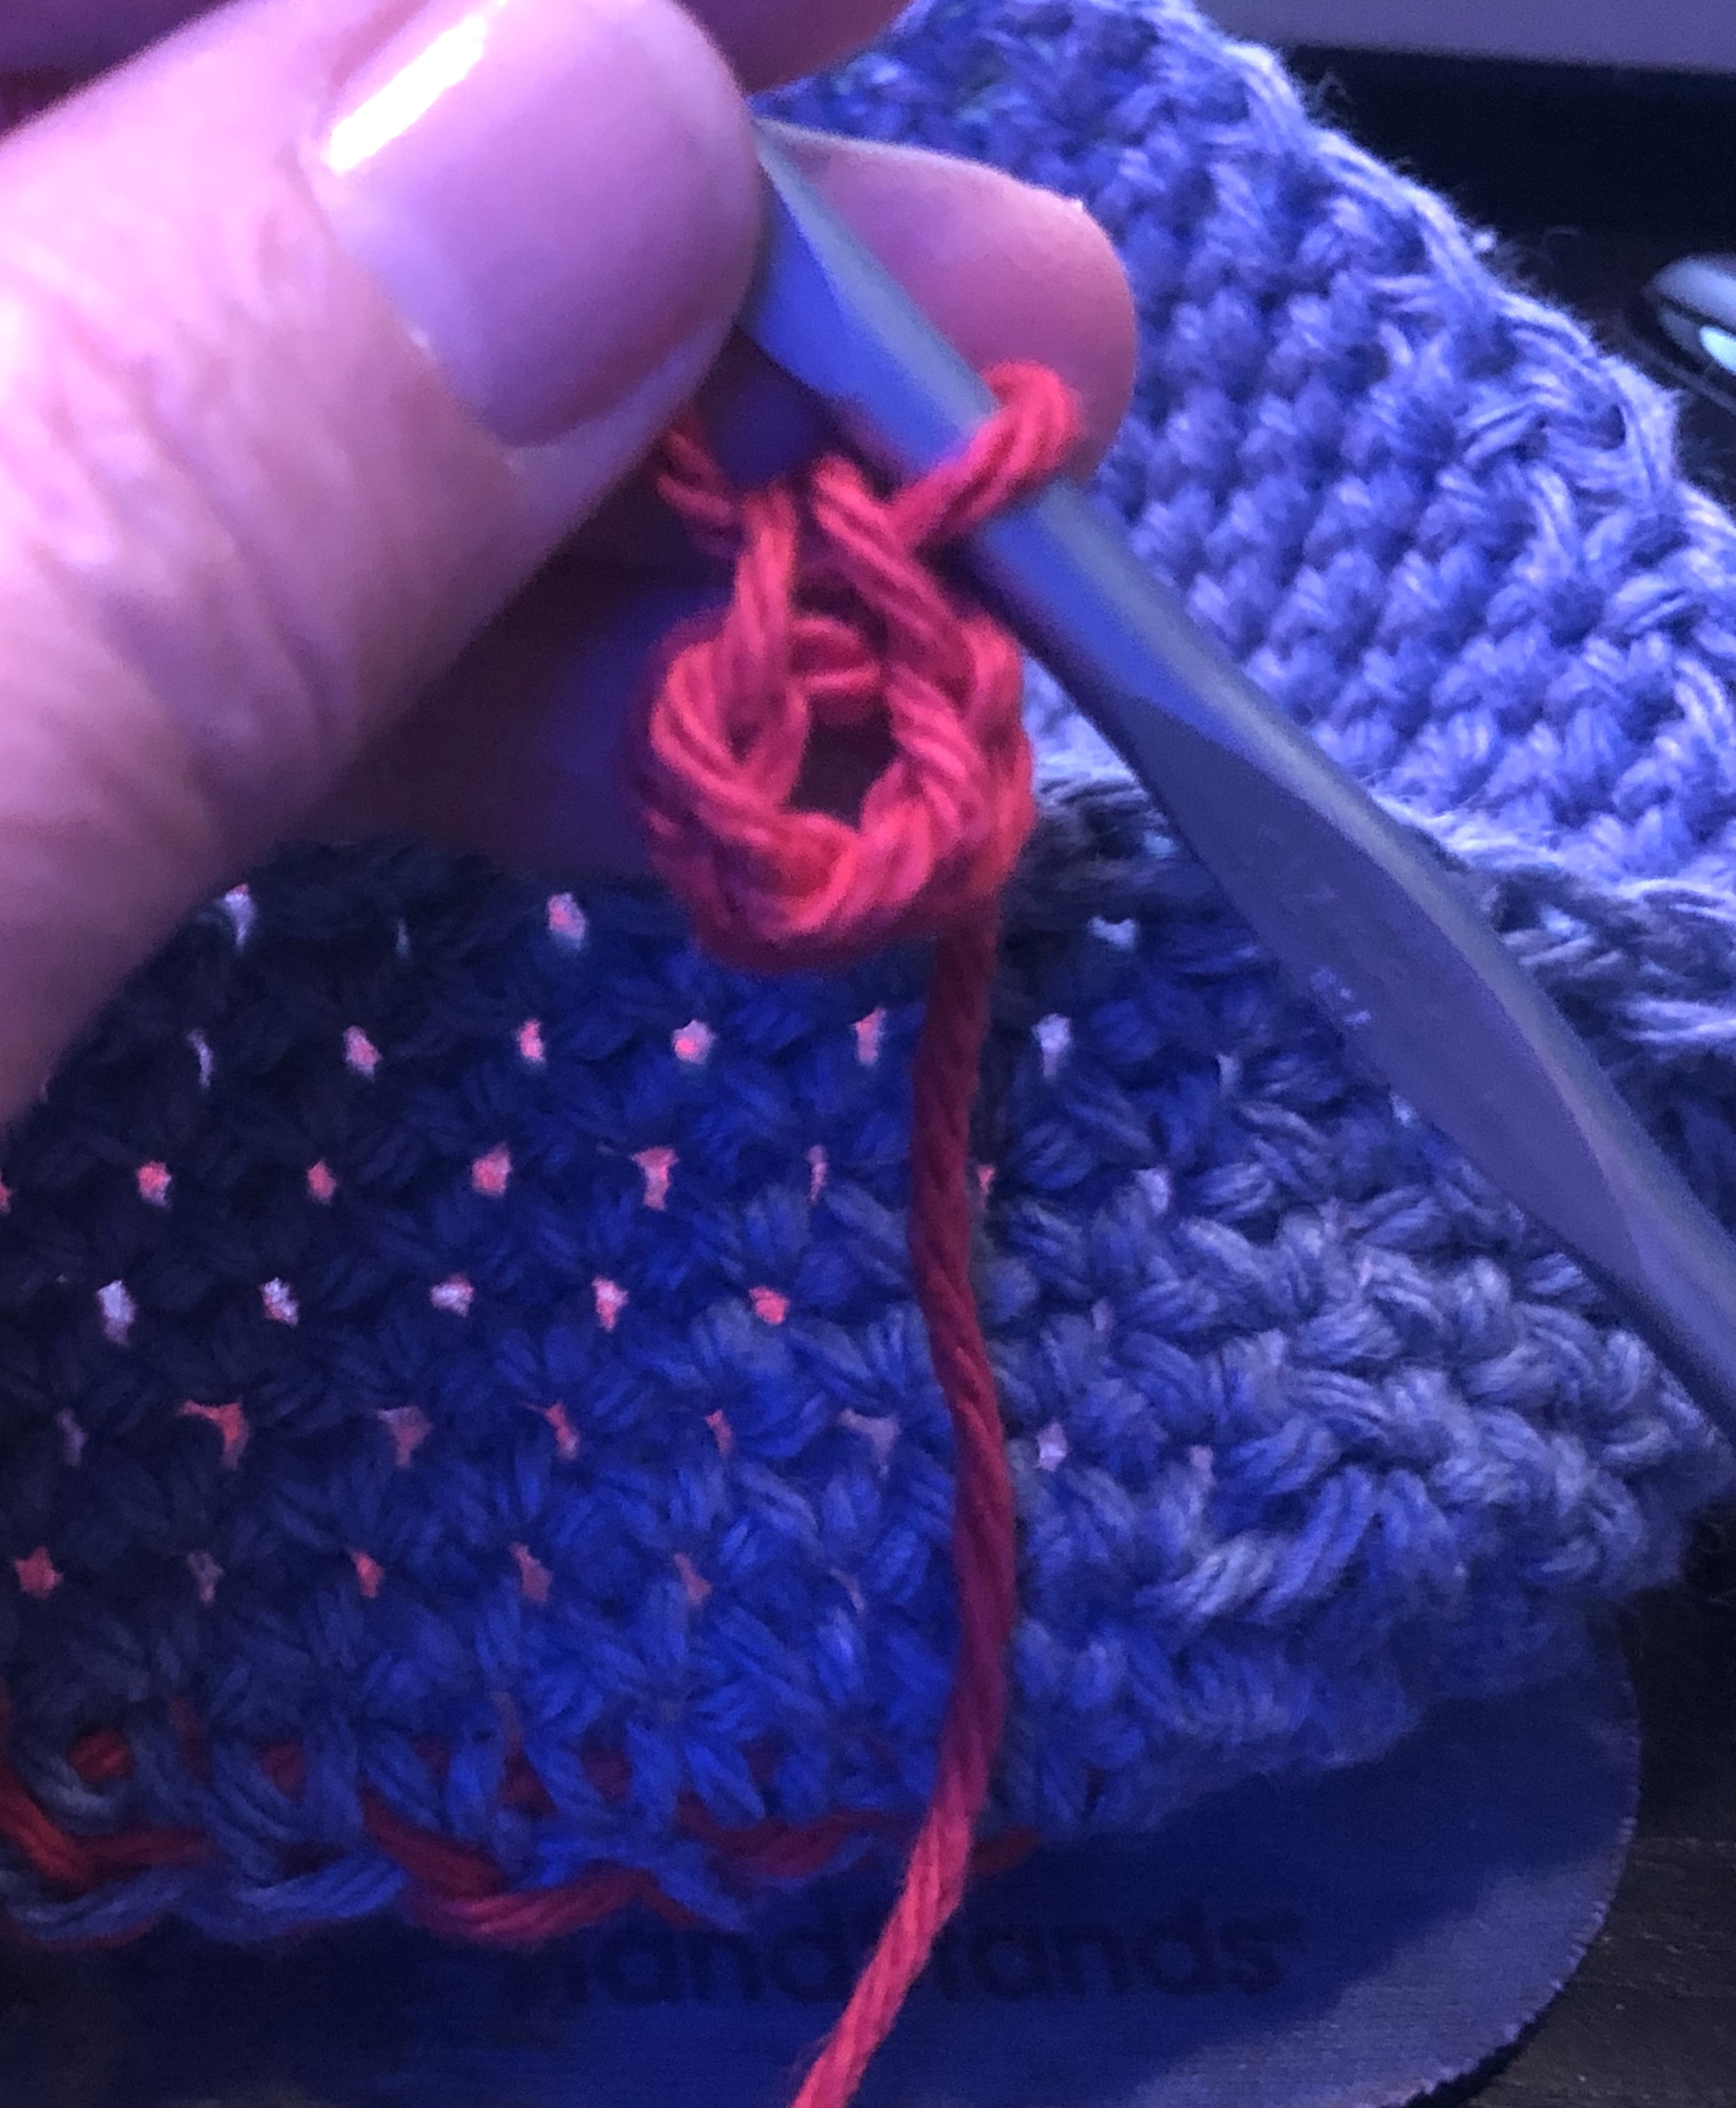
First drawstring openings - begin at right back corner: ch 2, *skip 1, sc next st* for a total of 18 ct. sc.

Next row: ch 18 and attach ch to opposite side of work; EO

Next row - working backwards across foundation ch: attach yarn at the EO spot, and work as follows (*sc, skip 1, sc* across); EO

Second drawstring openings: count 10 sc from first drawstring opening EO spot, and attach yarn in next sc. Work as follows - ch 2, *skip 1, sc next st* for a total of 24 ct. sc; ch 18 and attach ch to opposite side of work.
Next row - working backwards across foundation ch: do not cut yarn - just turn, and work as follows (*sc, skip 1* across); EO


Drawstring: ch 4 & join to first ch with a sl st.; ch 85 loosely - count backwards 4 sc & join with a sl st. EO

Weave in all loose ends; and then weave drawstring through drawstring loops.
This Swiffer mop top will easily slide over the mop head; tie in place by pulling drawstring to wrap mop top securely around plastic mop head.


There will be some shrinkage after washing and drying, but just pull on it a bit to loosen it up :-)
I love this idea Val. This is perfect but I don't crochet. Sad face.
ReplyDeleteVisiting today from April's #9&10
Thanks Paula :-)
DeleteHave a funtastic week!
I love washable and reusable cleaning things like this, cheaper and better for the environment. Thank you for sharing the pattern at Handmade Monday.
ReplyDeleteYW :-)
DeleteThank you for popping in ... have a funtastic week ahead!
That's a fab idea, we have something similar, but we bought ours and it's factory made, but does a better job than the plastic backed velcro ones.
ReplyDeleteThanks for linking up with #pocolo
Thanks for stopping by - always happy to see you crossed my path ;-)
DeleteHave a funtastic day!
Fab idea - and so colourful too - thanks for sharing with #PoCoLo
ReplyDeleteThank you :-)
ReplyDeleteHave a funtastic day!