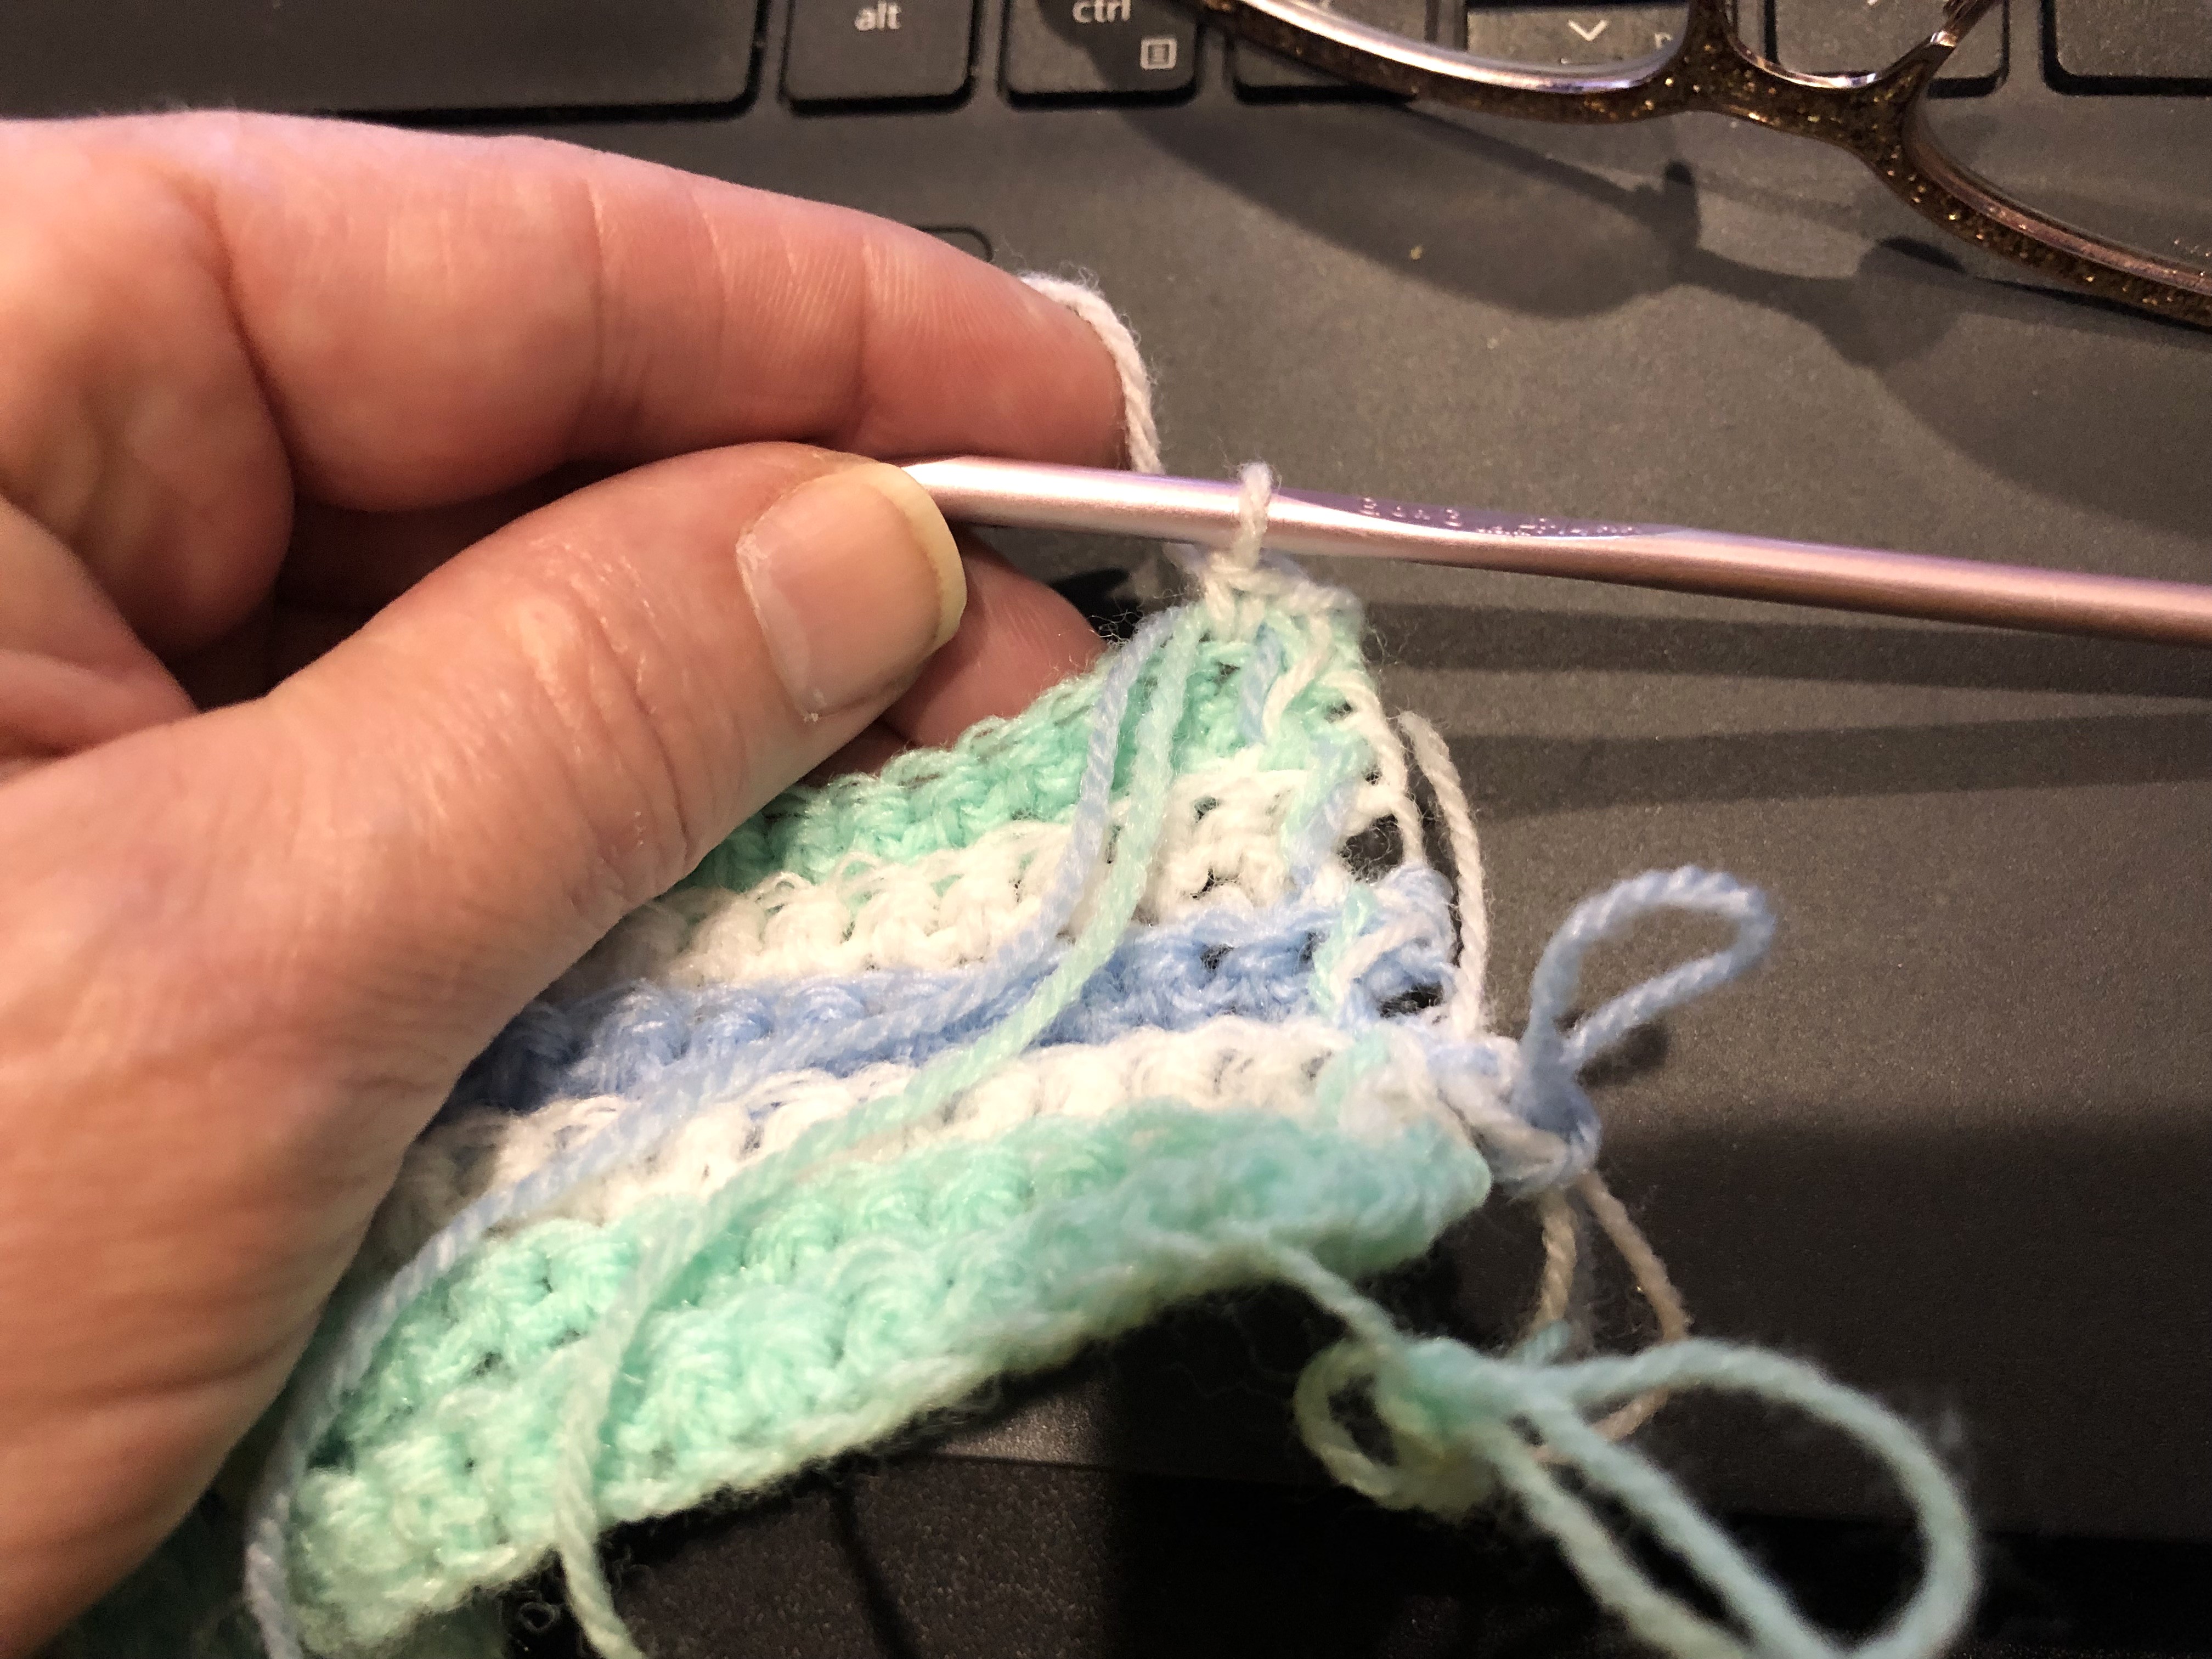
It's raining here & I am housebound … so, I decided to dig into my yarn cache and design a colorful hot pad et for my farmhouse kitchen; designing is soothing & working my WIP's help me unwind, as my yarn unwinds and my project takes shape.


I don't like being trapped by Mother Nature's schizoid whims 🤦🏻♀️, & I can’t stand to have idle hands; housework is caught up & I'm left to my own pursuits 😒 I have to be active, in some way - today, it is designing & crafting:
MOD ROUND LID KNOB HOT PAD

This is an old pattern, that I have modified to suit my needs - I like these lid knob pads because they are easier to use on pot lids, than the bigger & bulkier regular hot pads: just slip them over the lid knobs before cooking commences 😊
This lid knob cover will fit both a raised knob, and a flatter knob.
You can work it up in a solid hue, a main color & contrast color mix, or a variegated blend to match your kitchen, or personality - they all look nice 😉
Materials: Red Heart worsted weight yarn; # I crochet hook, 1 rubber band, 1 tapestry needle, & scissors.
Terms Used:
ch = chain
sc = single crochet
sts = stitches
rpt - repeat
sl st = slip stitch
inc = increase
MC = main color
CC = contrast color
Row 1: With CC, ch 2 - then make 7 sc in circle; drop CC & attach MC - do not join: place a marker & work in rounds from this point.
Row 2: 2 sc in each st: 14 sc
Row 3: *2 sc in first st, 1 sc in next 2 sts*: rpt around: 20 sc
.JPG)
Rows 4 thru 7: Sc even; 20 sc


Row 8: Double the rubber band & work a row of sc around the band - join with a sl st: 20 sc

Row 9: Ch 3 & work as follows - 1 dc in same st (inc), then *1 dc in next st, 2 dc next st*; rpt around 30 dc
Row 10: Work even. 30 dc
Row 11: Ch 2 & work as follows - 1 hdc in same st (inc), then *1 hdc in next st, 2 hdc next st*; rpt around. EO MC & attach CC 46 hdc

Edge Trim #1: With CC, *ch 1, sl st in next st*; rpt around, ending with a sl st in first sl st. EO & weave in loose ends.

Edge Trim #2: Attach MC *Ch 3, skip 1 st, sl st in next st*; rpt around - join with a sl st in the last st. EO yarn & weave in loose ends.
MOD STRIPED OBLONG LID KNOB HOT PAD

This pattern is an old pattern, which I have modified to suit my needs, today - it was originally designed to slip over casserole dish handles to move from oven to counter or table top: I make them to slip over my slowcooker lid knobs 😁

Materials: Red Heart worsted weight yarn; # I crochet hook & scissors.
Terms Used:
ch = chain
sc = single crochet
sts = stitches
rpt - repeat
sl st = slip stitch
inc = increase
MC = main color
CC = contrast color
Row 1: With CC, ch 8, turn and through back loop, sl st down length (7); do not cut yarn: join MC in last st, and make a 3 sc inc in end st, sc x7, 3 sc inc in end st, sc x7 - drop MC (do not cut, carry yarn up backside of work) & attach CC (18)
.JPG)
Row 2: Make a 3 sc inc in end st & in next st - sc x8, 3 sc inc x2, sc x8 - drop CC (do not cut, carry yarn up backside of work) & attach MC (27)
.JPG)
Row 3: 1 sc, 2 sc next st x2, sc x12, 2 sc next st x2, sc x12 - drop & attach CC (31)
Row 4: sc x3, inc end st, sc x14, inc next st, sc x14 - drop & attach MC (33)
Rows 5 thru 6: Sc around even; following striped pattern of 1 rows CC & 1 row MC - EO with CC & weave in ends for a tidy finish (33)
.JPG)

MOD HOT PAD PATTERNS~4 sizes; 4 different designs


The easy-peasy hot pad patterns are all 4 designed & worked around the original "Diagonal Grandma's Hot Pad", which is worked in a round throughout - marking the first st of each round with a stitch marker (I use a length of scrap yarn).
I remember making the hot pads for a class credit in high school during a Home Economic Class, in 1972 - I've been making these a very long time.
The extra large Rectangular Hot Pad is my own design that I worked up for the first time, the Fall of 2025 - while in Coalinga-CA.
MOD MED-SIZE STRIPED HOT PAD
I worked up the medium-sized hot pad first, because that size seems to be used the most; the others were an after thought - alterations to the original pattern, but also occasionally used & needed for their size.

Materials: Red Heart worsted weight yarn; # I crochet hook & scissors.
Terms Used:
ch = chain
sc = single crochet
sts = stitches
rpt - repeat
sl st = slip stitch
inc = increase
MC = main color
CC = contrast color
Round 1: With CC, ch 36, turn and through back loops, sl st down length (36); do not cut yarn: join MC in last st and sc 36 sts - turn, sc down opposite side (70 total). Place a marker and begin to work in rounds at this point, following striped pattern of 2 rows MC & 1 row CC throughout, moving marker up each row.


.JPG)
.JPG)
Rounds 2 – 19: Work in sc EA round, keeping to striped pattern.


Fold ends towards center to make a square; and with MC, continue in sc to corner point:

Drop MC & attach CC and work as follows: sl st in next st, ch 11, sl st in same st - for hanging loop; then, work 36 sc to opposite corner point. Cut yarn with a long tail for sewing & whip st back of hot pad closed. EO & weave in all ends.


MOD LRG-SIZE HOT PAD

The worsted I used in this pattern, was slightly thicker, so the row count was shorter than the medium sized hot pad … if using thinner worsted, start folding the ends towards the center at row 14, and eyeball the distance to closure ends & make adjustments to accurately shape your square: this is not hard to figure out - you can do it!
Materials: Red Heart worsted weight yarn; # I crochet hook & scissors.
Terms Used:
ch = chain
sc = single crochet
sts = stitches
rpt - repeat
sl st = slip stitch
inc = increase
MC = main color
CC = contrast color
Round 1: With CC, ch 42, turn and through back loops, sl st down length (41); turn, sc down opposite side (82 sc total). Place a marker and begin to work in rounds at this point, moving marker up each row.
Rounds 2 - 16: Work in back loop of EA sc around.
.JPG)
.JPG)
Fold ends towards center to make a square; continue in sc to corner point - and work as follows: sl st in next st, ch 11, sl st in same st - for hanging loop; cut yarn with a long tail for sewing & whip st back of hot pad closed. EO & weave in all ends.


MOD SM-SIZE STRIPED HOT PAD

Materials: Red Heart worsted weight yarn; # I crochet hook & scissors.
Terms Used:
ch = chain
sc = single crochet
sts = stitches
rpt - repeat
sl st = slip stitch
inc = increase
MC = main color
CC = contrast color
Round 1: With CC, ch 31, turn and through back loops, sl st down length (29); do not cut yarn: join MC in last st and sc down opposite side (59 total). Drop MC & join CC - place a marker and begin to work in striped rounds at this point, as follows: (2) sl st in back loop of EA sc; drop CC (3) with MC, sc in EA sl st.


Rounds 4 - 13: Work in established striped pattern (2 & 3) around, keeping to striped pattern.

Fold ends towards center to make a square - you should have 7 MC stripes & 6 sl st stripes; with CC, now work 46 sl st, sl st in next st, ch 11, sl st in same st - for hanging loop; then, work 11 sc to center: cut yarn with a long tail for sewing … run backwards through back sts to hanging loop & whip st back of hot pad closed. EO & weave in all ends.


MOD PLAIN X-LRG RECTANGULAR HOT PAD

Materials: Red Heart worsted weight yarn; # I crochet hook & scissors.
Terms Used:
ch = chain
sc = single crochet
sts = stitches
rpt - repeat
sl st = slip stitch
inc = increase
MC = main color
CC = contrast color
With yarn & crochet hook, make a foundation chain of 31: turn and sl st through back loops, down length (30 sc). Place a marker at this point.
Row 2: Sc in EA st around (60 sc); a tubular shape is forming.
.JPG)
Row 3 thru 45: Now you will begin to work entirely in rounds, as follows: sc in EA sc around , & move marker up each row. Piece should now measure 12" in length.


Row 46: Sc across 14 sc, sl st in next st, ch 11, sl st in same st - for hanging loop; sc last 14 sc; EO - Cut yarn & sew opening closed; weaving in loose ends.
That's a complete set of hot pads for just about every cooking pot, skillet, casserole dish, cake or pie pan; you use while cooking 👨🍳👍😘


%20-%20Copy.JPG)


.JPG)