My new husband is cold a.l.l.t.h.e.t.i.m.e.; the heater never goes off from Fall to Summer - and it's almost always on during the night no matter what season we are in, because debilitating back & knee pain from a construction site accident keeps him up through the night, most nights, 24/7/365.
Most nights into the wee morning hours, are chilly all year long.
And his fabric vests are getting worn with age - plus, they really are not long enough in the torso.
So, I decided to make him something warmer, and longer in length: I would design, and craft him a double-thickness vest ;-)
I like designing and crafting things for my loved ones - kids and grandkids are no longer in my life; but Elohim has blessed me with a good husband and it pleases me to bless my new husband in any way that I can.
My husband is a big man - he's 6'4" and husky: I am 5'2", and I like the feeling of being completely surrounded by love when he embraces me; and we both liked the idea of him being wrapped warmly in love, when my design was completed.
That is how 'MOD Holland's Vest' came into being :-)
This pattern looks lengthy, but the design really doesn't take very long to complete; it took me more time than necessary because we are road gypsies, and I could only get back 'at it' when we lit someplace long enough to haul it out, spread it out, and have him try it on for accurate fitting as I worked it.
I started designing and crafting my husband's vest April 4th, 2024 in Kingsburg-CA; and completed it May 5th, 2024 in Ocean Park-WA where we are currently set down for a while.
This design of mine was crafted specifically with him in mind (size 4X, Tall Man), so there are no smaller sizes to this pattern.
Materials: Red Heart Super skein, Worsted yarn = 1 ct. MC (main color) & 1 ct. CC (contrast color); a length of throw away yarn bits for marking armhole openings; #H crochet hook; Tape Measure; Scissors; Tapestry needle
Terms Used:
co = cast on
ch = chain
sl st = slip stitch
sc = single crochet
hdc = half double crochet
dc = double crochet
dec = decrease
T = turn
rpt = repeat
tog - together
x = repeat pattern this many times
inc = increase
EA = each
ct = count
EO = end of work; cut yarn, leaving long enough to weave in
SIZE: 4X Tall Man
Skeins bought, unwound & rewound for easy usage …
This pattern is pretty simple: 5 rows of dc & 1 row of sc. The only seaming that needs to be done is at the shoulders.
Easy peasy ;-)
MOD 'HOLLAND'S VEST'
Foundation Row: With MC, co 227 ch; ch 1 & T
Laying a foundation that will establish the simple pattern I see in my mind's eye - and hope to work out with my hands.
Row 1: Sc in ea ch across row: 226 sc; ch 3 & T
Rows 2 thru 4: Dc in EA dc across row: 226 dc; ch 3 & T
Row 5: Dc in EA dc across row: 226 dc; ch 1 & T
Row 6: Sc in EA dc across row; ch 3 & T - DO NOT CUT YARN, loosely tie off MC yarn at end of row 6.
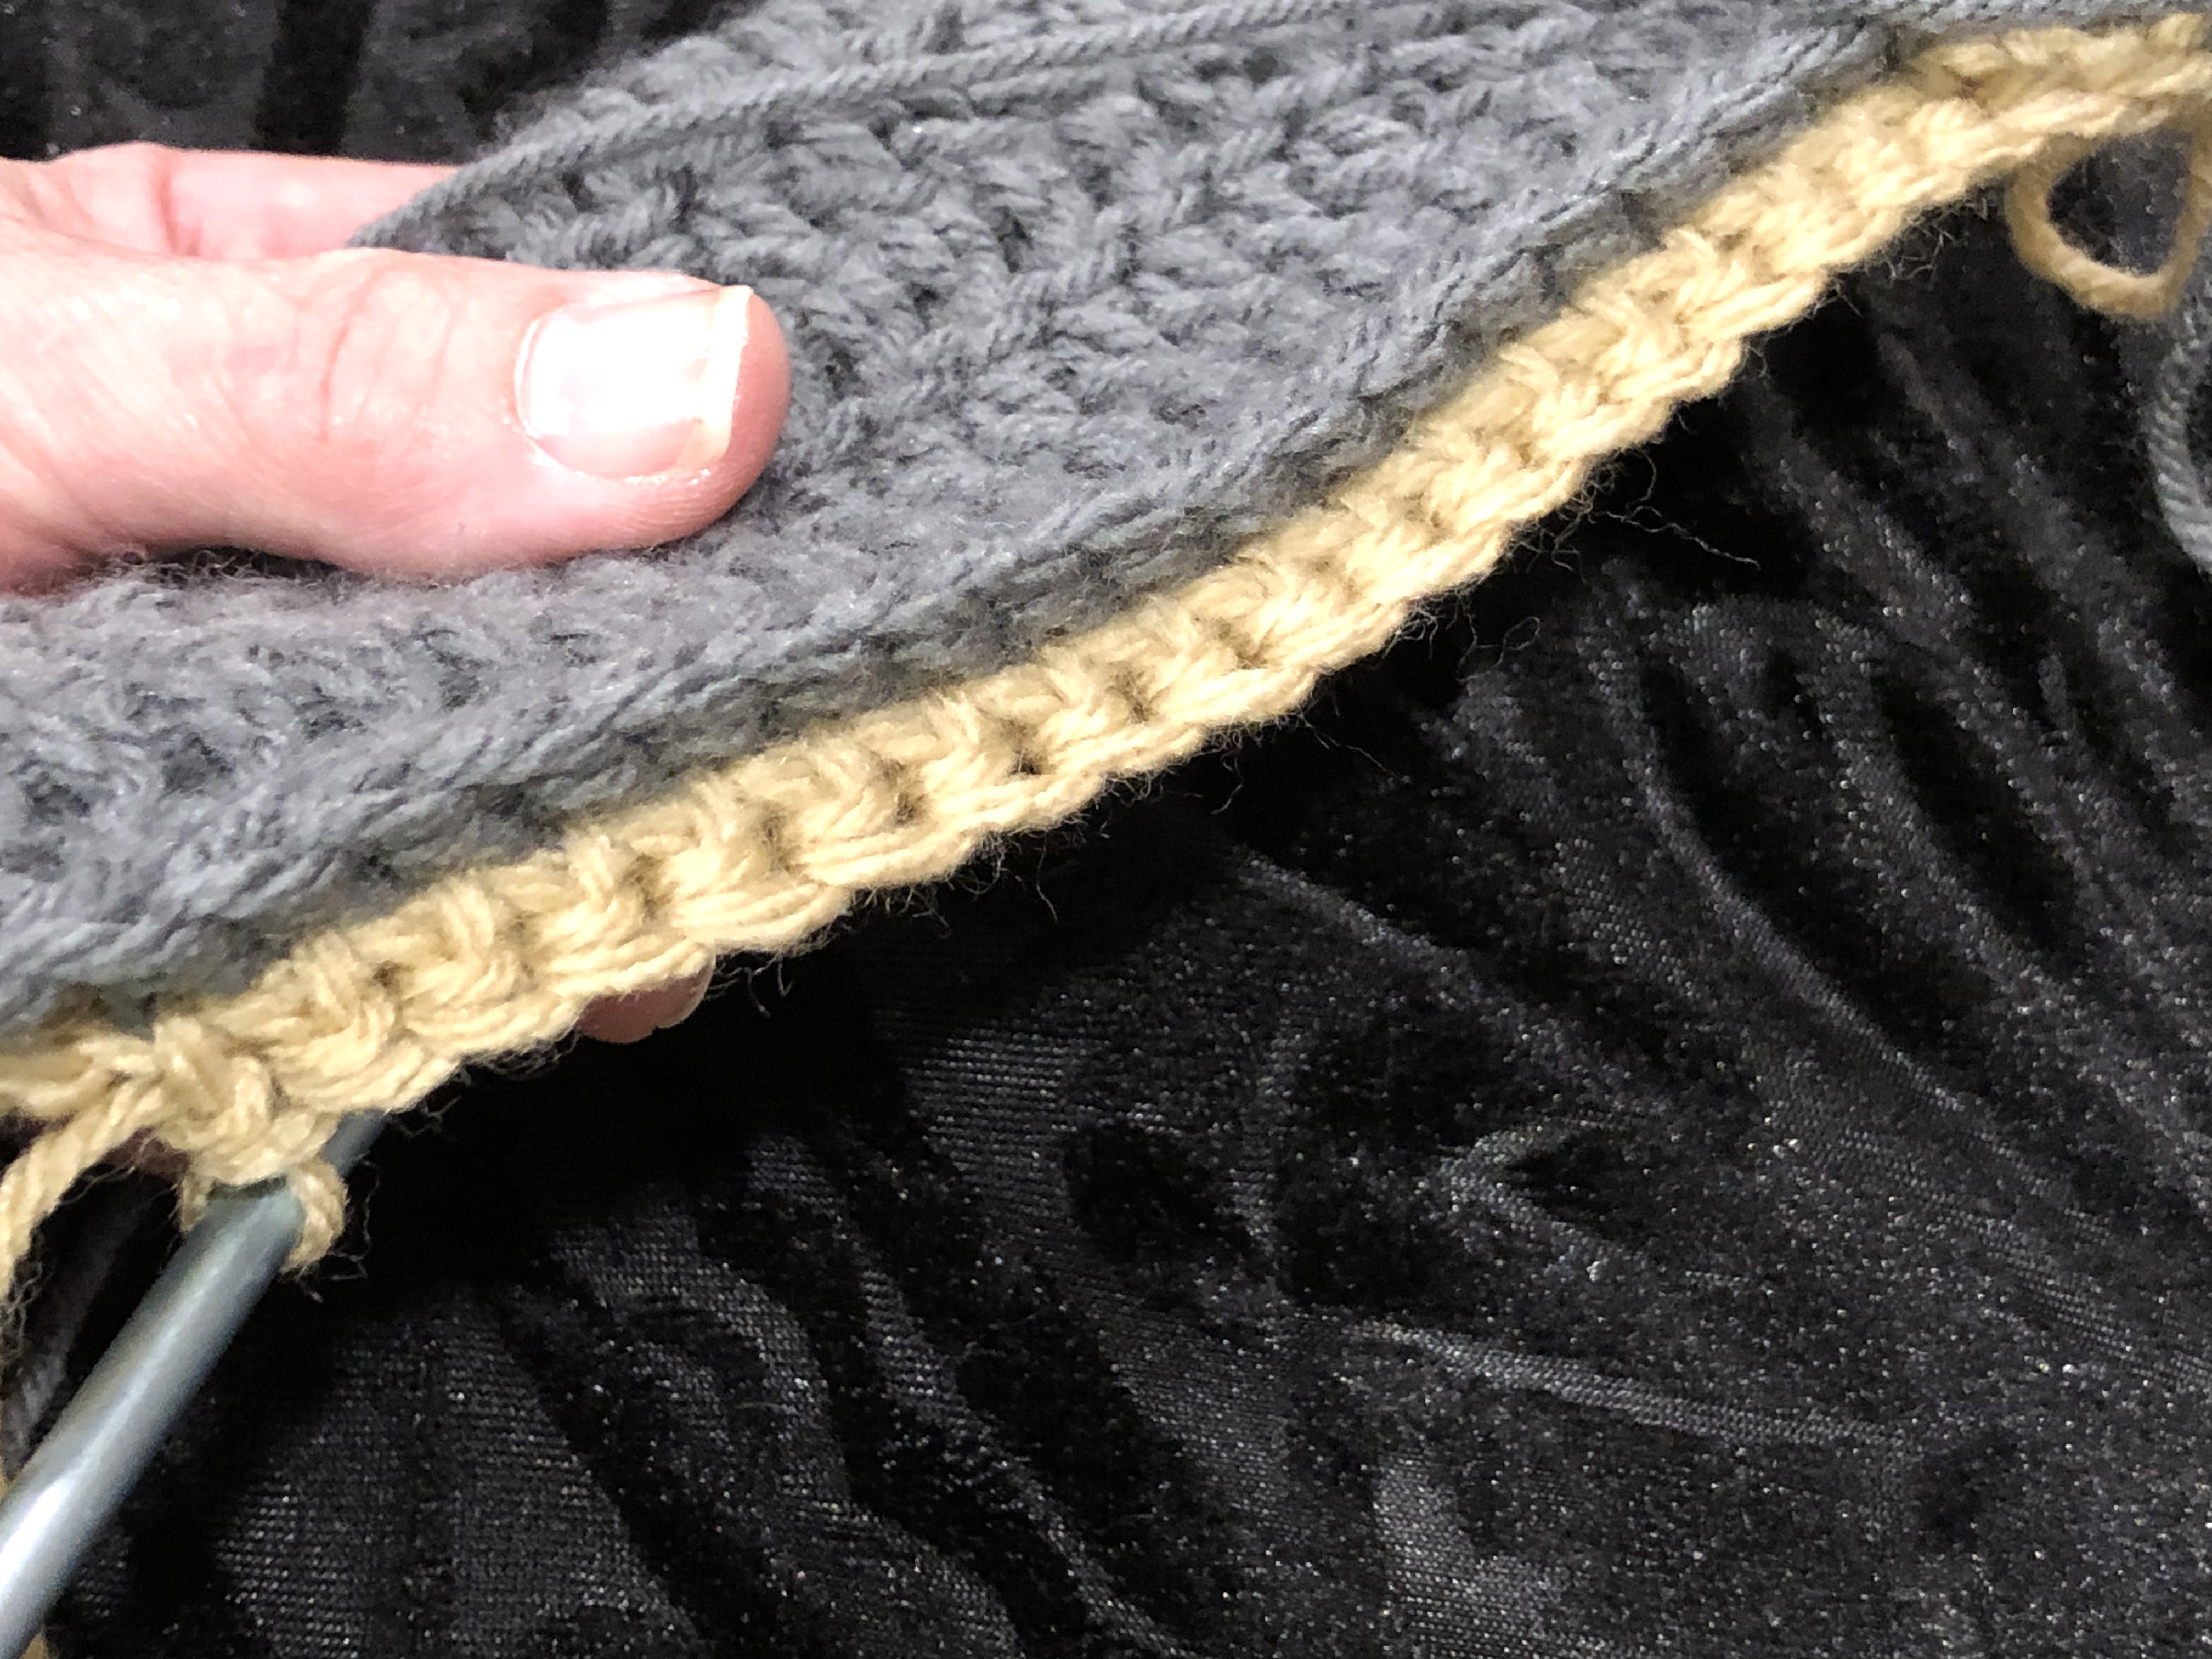
Row 7 thru 11: Attach CC yarn at backside of the beginning foundation row, and work pattern sts row 1 thru 5 on the backside of work already established.
Working a matching DBL-thickness backside …
Row 12: Working the back sts of MC sc's (this will keep work from sagging, for a more comfortable fit) … sc in EA dc across row; ch 3 & T - DO NOT CUT YARN, loosely tie off CC yarn at end of row 6.
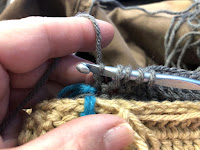
Row 6 of CC, worked in back loop st of Row 6 MC: backside secured to the frontside.
Alternating MC & CC every 6th row for an established vest body pattern; repeat 1 thru 12 pattern rows x7: at this point, piece should measure 20" from hemline.
Alternating MC & CC every 6th Row to keep tension accurate.
Mark armhole openings as follows: count 113 pattern sts to center of piece - then evenly measure 34-1/2" across back & mark EA end of that total measurement with a piece of throw-away yarn; then, from EA front end, measure 18" inward and mark that measurement with a piece of throw-away yarn. These placed markers will indicate the armhole openings.
*Always make the decreases exactly as written.
With MC, attach yarn 4" from color marker, and begin armhole shaping as follows:
==ARMHOLE SHAPING
Row 1: Dc 46 sts across row, dec over next 2 sts - do not complete & make 1 sc in last st, dec'g ALL dec sts tog; ch 3 & T

A & B
Row 2: Dec 2 sts together, dc x45 across row; ch 3 & T
Row 3: Dc x42 across row, dec over next 2 sts - do not complete & make 1 sc in last st, dec'g ALL dec sts tog; ch 3 & T
Row 4: Dec 2 sts together, dc x41 across row; ch 3 & T
Row 5: Dc x38, dec over next 2 sts - do not complete & make 1 sc in last st, dec'g ALL dec sts tog; ch 3 & T
Row 6: Sc in EA st across row; ch 3 & T - DO NOT CUT YARN, loosely tie off MC yarn at end of row 6. Armhole decreases will end 6" inward from colored yarn marking. 40 ct dc
Rows 7 thru 11: Attach CC yarn at backside of work, and matching dec's in reverse, continue pattern sts row 1 thru 5 on the backside of work already established.
Row 12: Working the back sts of MC sc's (this will keep work from sagging, for a more comfortable fit) … sc in EA dc across row; ch 3 & T - DO NOT CUT YARN, loosely tie off CC yarn at end of row 6. 40 ct dc
Working pieces simultaneously is best.
With MC, work 2 more sets of established pattern rows 1 thru 6, making additional decreases across the Front piece of vest, as follows:
First dec set (Row 1) dec 20th st (R 2) work even (R 3) dec 19th st (Rows 4 thru 6) work even. 38 ct sts
Second dec set (Row 1) dec 18th st (R 2) work even (R 3) dec 17th st (Rows 4 thru 6) work even - DO NOT CUT YARN, loosely tie off MC yarn at end of row 6. 36 ct sts
Attach CC yarn at backside of work, and matching dec's in reverse, continue pattern sts row 1 thru 5 on the backside of work already established.
First dec set (Row 7) dec 20th st (R 8) work even (R 9) dec 19th st (Rows 10 & 11) work even … (R 12) working the back sts of MC sc's (this will keep work from sagging, for a more comfortable fit) … sc in EA dc across row; ch 3 & T. 38 ct sts
Second dec set (Row 7) dec 20th st (R 8) work even (R 9) dec 19th st (Rows 10 & 11) work even … (R 12) working the back sts of MC sc's (this will keep work from sagging, for a more comfortable fit) - DO NOT CUT YARN, loosely tie off CC yarn at end of row 6. 36 ct dc
==NECKLINE SHAPING
With MC, work 2 more sets of established pattern rows 1 thru 6, making additional decreases as follows:
First dec set Row 1: Work pattern even across row; ch 3 & T
Row 2: Dc x30, dec over next 2 sts - do not complete & make 1 sc in last st, dec'g ALL dec sts tog; ch 3 & T
Row 3: Dec 2 sts tog, dc x29; ch 3 & T
Row 4: Dc x27, dec over next 2 sts - do not complete & make 1 sc in last st, dec'g ALL dec sts tog; ch 3 & T
Row 5: Dec 2 sts tog, dc x26; ch 1 & T
Row 6: Sc even across row = 27 ct sts; ch 3 & T
Front neckline & shoulder shaping.
Second dec set Row 1: Dec 2 sts tog, dc x23; ch 1 & T
Row 2: 1 sl st first st, 1 sc next st, 3 hdc, dc x21; ch 3 & T
Row 3: dec 2 sts tog, dc x8, 3 hdc, 3 sc, sl st in last st. EO yarn.
Row 4: Attach MC yarn at 5th st inward from armhole edge - and work 1 sl st, 2 sc, 3 hdc, dc x5. EO yarn.
Attach CC yarn at armhole edge, and keeping to set pattern as established, reverse shaping instructions - being mindful of working row 6 in the back loops of MC sts.
Backside of Front piece.
**Work the opposite Front piece the same as the front piece you just finished, reversing armhole and neckline shaping's.
Front piece shoulder shaping's, coming together nicely :-)
These pieces will be heavy due to their double-thickness, and will require quite a bit of turning in the completion process. If your shoulders and arm muscles get sore, take a week or so off to ease the muscle burn.
==BACK PIECE
Attach MC yarn at the LEFT backside of main body completed, and work in established pattern as for front pieces … the armhole shaping's will fall as follows:
Row 1: Dec 2 sts tog, dc x77 across row, dec last 2 sts tog; ch 3 & T
Row 2: Dec 2 sts tog, dc x74 across row, dec last 2 sts tog; ch 3 & T
Row 3: Dec 2 sts tog, dc x71 across row, dec last 2 sts tog; ch 3 & T
Row 4: Dec 2 sts tog, dc x68 across row, dec last 2 sts tog; ch 3 & T
Row 5: Dec 2 sts tog, dc x65 across row, dec last 2 sts tog; ch 1 & T
Row 6: Sc evenly across row: 67 sts; ch 3 & T
Work 3 straight sets of established pattern rows 1 thru 6; then work 2 sets of increase rows as you begin shoulder & neckline shaping's, as follows:
First inc set Rows 1 & 2: Work pattern even across row; ch 3 & T
Row 3: Keeping to pattern across row, inc 1 st EA side of work (69 sts); ch 3 & T
Row 4: Work even on 69 dc; ch 3 & T
Row 5: Dec as follows - 1 sc, 1 hdc, 1 dc, then dec 2 sts together, dc x62, then hdc over next 2 sts - do not complete & make 1 sc in last st, dec'g ALL dec sts tog; ch 3 & T
Row 6: Sc x26 evenly across row; ch 3 & T
Before starting the next pattern st set, take 2 pieces of throw-away yarn, and mark off the center 10 sts for back neckline shaping.
Back piece markings.
Second inc set Row 1: Dec first 2 sts, dc x21, hdc over next 2 sts - do not complete & make 1 sc in last st, dec'g ALL dec sts tog; ch 1 & T
Row 2: Skip first st, 1 sc, 1 hdc, dc x14, hdc over next 2 sts - do not complete & make 1 sc in last st, dec'g ALL dec sts tog; T
Row 3: Skip first st, 1 sc, 2 hdc, dc x4, work 1 hdc & 1 sc over next 2 sts - do not complete either, but keep on hook & make 1 sl st in last st, dec'g ALL dec sts tog; T
Row 4: Skip first st, sl st in next st, 1 sc, 1hdc, dc X2, work 2 dc tog. EO
**OPPOSITE SIDE of neckline shaping: Sc x35, 1 sl st next st; ch 1 & T, working across next row in dc pattern - and work in reverse shaping, starting with row 6 of second inc set of back neckline shaping pattern. EO
Back finished; time to work the CC backside, & weave shoulders up ;-)
Attach CC yarn at armhole edge, and keeping to set pattern as established, reverse shaping instructions - being mindful of working row 6 in the back loops of MC sts.
Weave the shoulder seams together & run an edging of your choice around the vest body, and armholes … and it's read to wear :-)
Weaving shoulder seams together.
Looking good …
Prepping for the edging.
A reasonable price … sans labor time ;-)
DONE! And he likes it ;-)


.JPG)


.JPG)


.JPG)




.JPG)


.JPG)
.JPG)


