Yuma, Arizona is the sunniest place in all of America; though this time of year, it does chill down overnight (sometimes cools to 45-degrees overnight), it heats back up to 80-degrees by noon. Cactuses are more prevalent in Arizona, than evergreens are ;-)
I don't go all out for Christmas anymore - I used to when the kids and grandkids were in-house … but, now that they are not, I don't. And I couldn't anyway in 45-ft. 5th wheel, roughly the size of a small shot-gun galley-kitchen studio apartment.
My new husband does not "do" Christmas.
At all.
But because this is my Birthday Month, and I want some kind of festive notation marking my time on Earth … he has consented to this one small chrismasty thing :-)
A week ago, my friend, Pam, sent me a picture text of her tree this year - she and her husband decided to "go small" this year, too:
I designed my own Christmas Cactus Pattern, November 28th, and completed it December 2nd. It's very easy to make, using only a few simple basic crochet stitches.
It will also be very easy to unassemble and store away when the holiday is over: space in an RV (even a 45-ft 5th wheel like ours) is very limited, so most extra's we have (inside TV trays & outdoor patio table/chairs), need to be stored flat.
Saguaro Cactus in a pot, & Saguaro Cactus fruit ('flowers').
Cactus & Pot sewed together, stuffed, decorated, & hung.
Our RV Home Floor Plan (with slide-out's extended) is roughly the same size as a small studio apartment - not a lot of floor space ;-)
If you live full-time in a 5th Wheel RV in the desert like I do, or you live in a small apartment with a quirky sense of humor like I do - you may enjoy crafting this little christmas cactus to decorate as you wish.
Have a funtastic Holiday!
MOD CHRISTMAS CACTUS PATTERN
Materials:
Worsted yarn - 1 ct. skein Red & 1 skein Green (you will be using doubled yarn throughout; unwind skeins and rewind into doubled red strands ball & doubled green strands ball)
Crochet Hook #H
Assorted small-scale tree trims
Tapestry Needle
Scissors
Throwaway plastic container of choice (oblong or round) to fit base of your cactus
Cardboard for project backing
Ballpoint pen
1 ct. 33-gal. Plastic Garbage bag for stuffing
1 ct. 0.5 lb. weight Resin Command Hook
Terms Used:
ch = chain
sl st = slip stitch
dc = double crochet
hdc = half double crochet
sc = single crochet
st = stitch
inc = increase
dec = decrease
BL = back loops
jn = join
T = turn
TL = total
rpt = repeat
X = times
EA = each
EO = end off
MOD Cactus {tree} instructions:
Double strand worsted & appropriate size crochet hook.
Row 1: With Green worsted yarn, ch 2; sc x 8 ct. in 2nd st from hook - do not jn.
DO NOT JOIN
Row 2: Sl st across the back of the next two sts - do not jn.
Sl st to beginning 1st sc … this forms the back of cactus to be tacked to cardboard.
Row 3: ch 42, and work a dc in 2nd ch from hook; begin forming first "cactus rib" by dc to end st - ch 3 & T.
Dc up foundation chain.
Row 4: Dc x 37 (38 sts TL); then work 1 hdc, 1 sc, 1 sl st - T
Row 5: In BL only; 1 sc, 1 hdc; then work dc x 38 - at end of row, ch 3 & T
Row 6: In BL only; rpt row 4.
Cactus ribs layout; you will be working around circular top.
Repeat rows 5 & 6 one after another, eight times more; there should be 9 completed "cactus ribs".
At the end of last row, ch 1 & sl st x 40 - then work 2 dc in top of cactus and sl st x 40: EO
Frontside of cactus back sl st.
Backside of cactus back sl st; this side will be frontside when tacked to cardboard backing.
This curled cactus will be loosely stuffed when 'backed'.
MOD Cactus Tree Pot:
Cut the back out of a container that fits the base of the cactus piece.
Cut the center out of the container lid … the cactus & pot will be joined at this opening.
Row 1: With Red worsted yarn, ch 11; then work 1 sc in 2nd st from hook, sc x 8 ct down foundation ch … make 2 sc in end, and start working back up the foundation ch with sc x 8 ct & jn to first st - ch 1, T
Work a sc bottom portion of the cactus 'pot'.
Row 2: 1 sc in same st; sc x 9 ct, 3 sc next st, sc x 9 ct & jn to fisrt st - ch 1, T
Row 3: 1 sc same st; sc x 2 ct, 2 sc in next st, sc x 9 ct, 2 sc next st, sc x 2 ct, 2 sc next st, sc x 9 ct & jn to first st - ch 1, T
Row 4: 1 sc same st; sc x 11 ct, 2 sc next st, sc x 3 ct, 2 sc next st, sc x 3 ct & jn to first st - ch 1, T
Row 5: 1 sc in same st; sc x 4 ct, 2 sc next st, sc x 12 ct, 2 sc next st, sc x 4 ct, 2 sc next st, sc x 12 ct & jn to first st - DO NOT TURN WORK
Row 6: Ch 3 & dc around 3 sides of work, inc 4 sts at EA corner - ch 1 & T
Row 7: Sc around work, inc 3 sts atop EA center inc of previous inc - ch 3 & T
Row 8: Dc across row, inc 3 sts atop EA inc of previous inc - ch 1 & T
Rows 9 thru 14: Rpt sc and dc rows, without inc's.
Every so often check the shape of the piece being worked; make sure of the fit, & make adjustments as needed to suit your pot's shape.
Row 15: Dc 13, dec, dc x 19 ct, dec, dc x 13 ct - ch 3 & T
Row 16: Working BL only; dc x 12 ct, dec, dc x 18 ct, dec, dc x 12 ct - at the end of row, turn and sl st around entire piece. EO
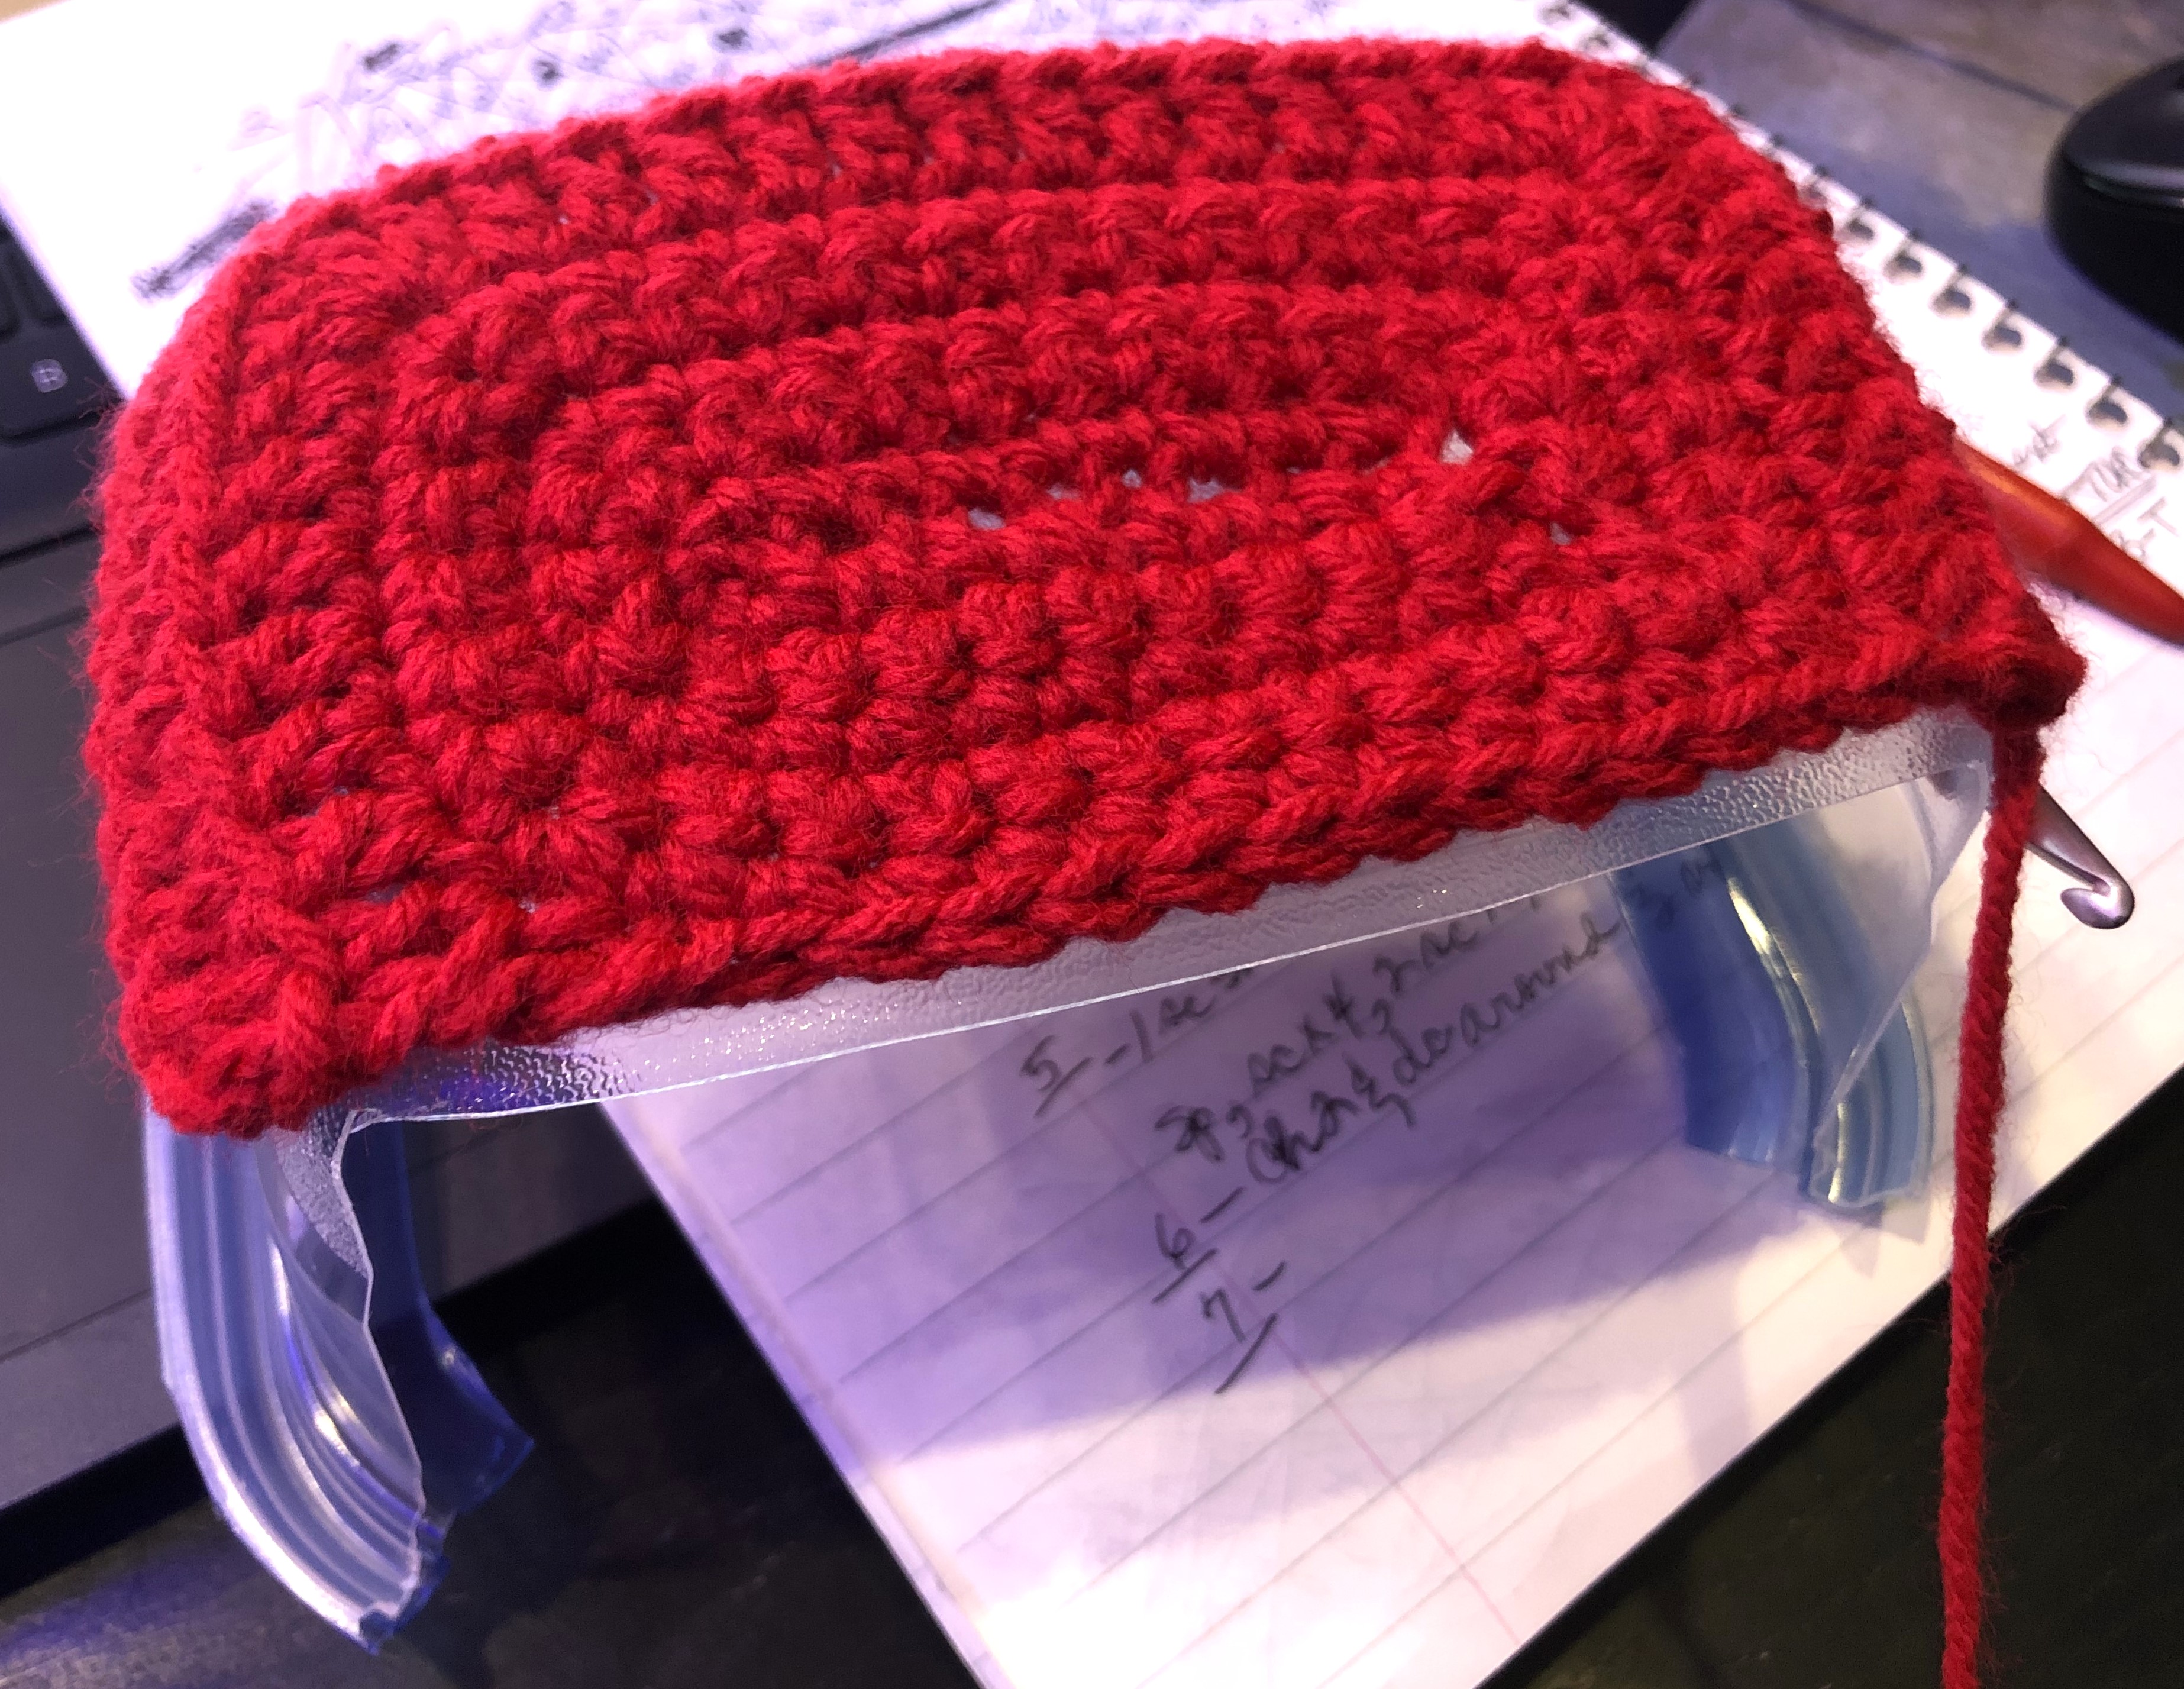
Working the top of the 'pot' that will fit snugly around the cactus base …
Side & front views.
Whipstitch cactus base & pot top pieces together.
Piecing the Cactus Tree together:
Dismantle an appropriate sized cardboard box, and with a ballpoint pen, lightly outline your crafted tree shape to a piece of cardboard.
Cardboard backing; pattern outlined. I chose a box to dismantle that had a ready-made-opening, to use when hanging my cactus tree ;-)
Backing cutout; put the colored side, inside & keep the lighter side out - this will be hung towards the wall (or door).
Stuff the cactus tree; and gently whipstitch to cardboard backing: do not pull harshly on the whipstitch or you will cut the cardboard, making it useless. Secure it lightly, but firmly in place.
Plastic 33 gallon garbage bag stuffing.
Whipstitch pot to cardboard backing.
Whipstitch cactus to cardboard backing.
Trim your cactus tree … anchor the hanging hook in place with the pull-tap adhesive, and hang your tree :-)
Trims for this 2023 holiday season: with tapestry needle and yarn, tack beaded cord to front of cactus … then affix balls to cactus as you see fit ;-)
Cactus sewed together, stuffed, decorated, & hung. I did not use the fancy flower because the poorly glued sequined portions fell off … making it useless for my purpose :-(
Hopefully my Cactus Tree will stay put - this door is used a lot.
HAPPY HOLIDAY!


.JPG)


.JPG)


.JPG)
.JPG)


..jpg)